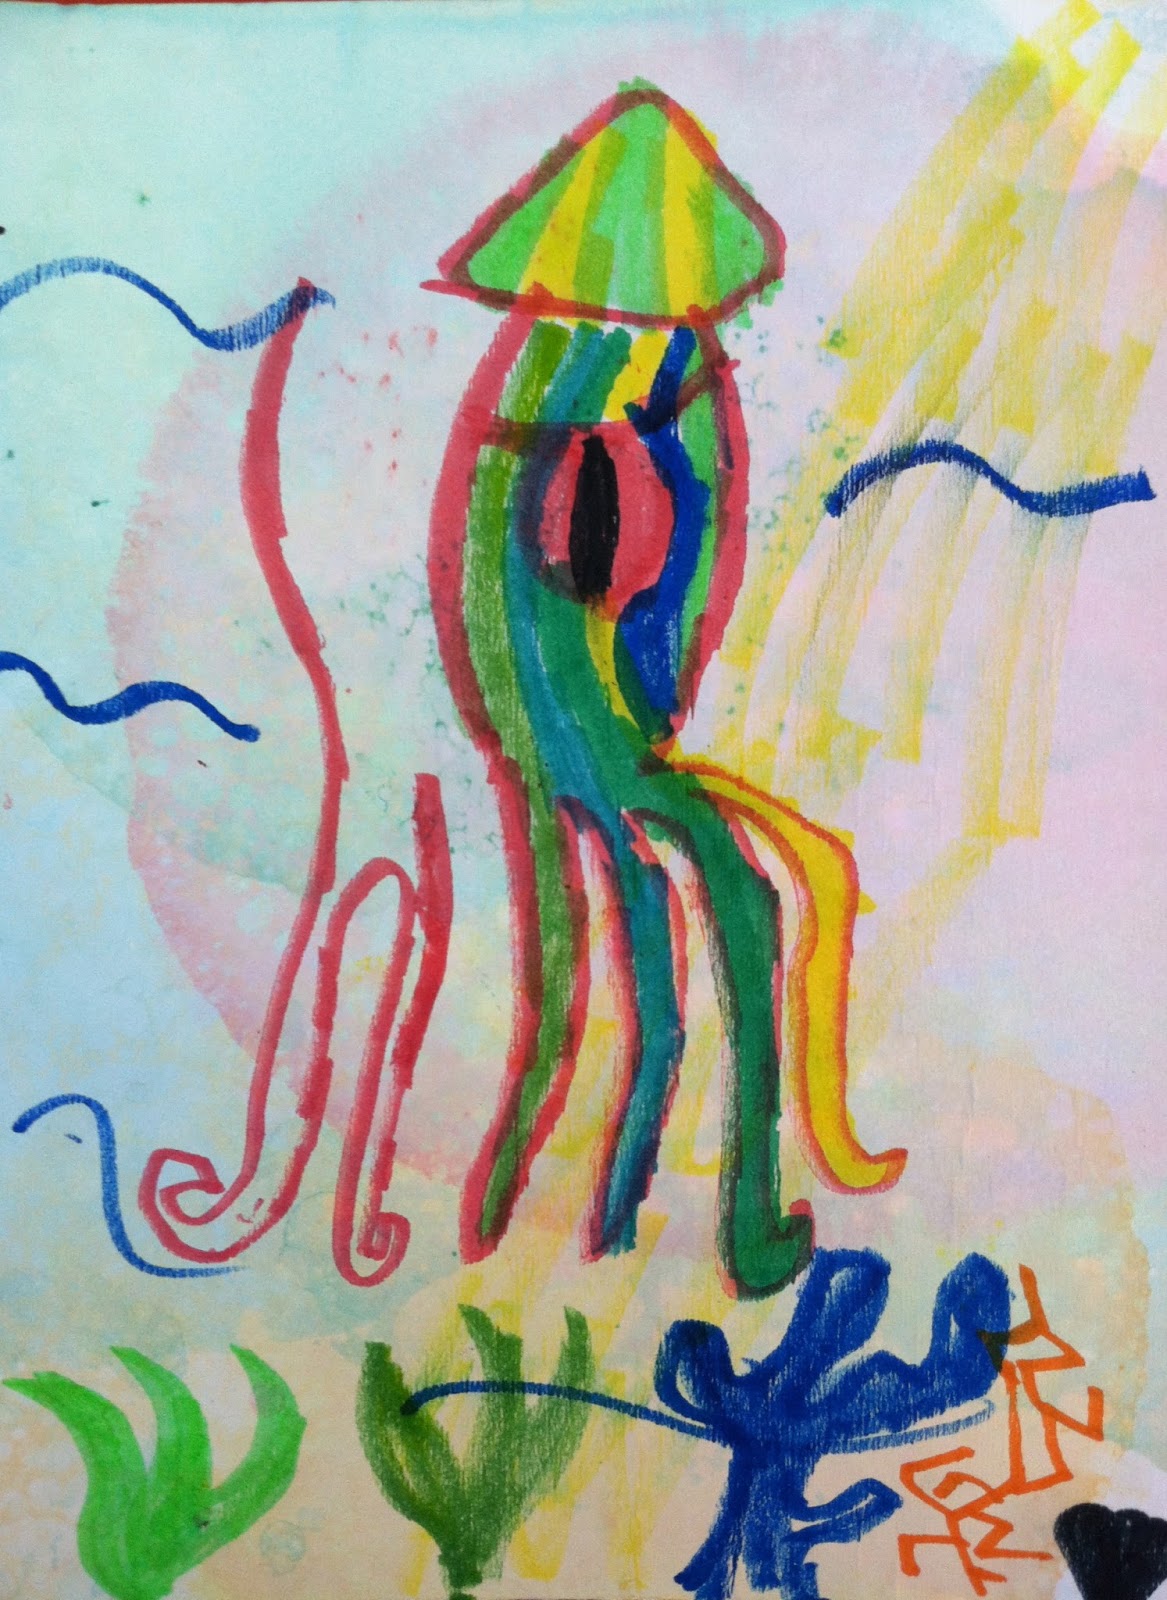
These last couple weeks I have been hard at work “helping”
with Kim Pickell’s summer art camps for students of all ages. I’ve mostly been
working with the younger students, from about 5 to 10 years old and have been gathering
art ideas for my own classroom. I assume that I won’t have the opportunity to
send my students away each day for an art class, so I figured I better get it
together and have a repertoire ready for them so that they can enjoy art as much
as I have (after taking 7 years of art classes from Kim). I don’t know a better
resource for wonderful art ideas, and I am so lucky she was willing to spend so
much time with me this summer! She gets all the credit for these art projects,
I’m just showing you all so that the world can know how great she is, and how
great art is!
First and foremost, we did a lot of work with the color
wheel, talking about primary, secondary, and tertiary colors, warm and cool
colors, and how to make colors that aren’t available a lot of the time. Here’s
my rickety color wheel! (I probably could have colored it, but you get the
gist.)
These first two projects are awesome for all ages, but
especially the younger kids…The pictures are an assortment of my work and the students work, good luck guessing whose is whose! :)
Cloudy Skies
Materials:
White paper (about 8x10)
Blue and white tempera
paint
Shaving cream
Elmer’s glue
Cotton
balls
Tape down the page on a board to keep it from warping,
generally the tape will be able ¼” in from the edge of the page. (This will be
the same for all painting projects)
Paint the entire page with blue and white to look like the
sky. Let dry.
Mix a plate of shaving cream with Elmer’s glue, about a 1:1
ratio. Add this to the top of the page to become 3-D clouds (a cotton ball
works well to spread the shaving cream onto the paper) and let dry overnight.
Draw and cut out things to put in the sky or on the ground
(airplanes, kites, birds, bees, flowers, ect…)
Ice Cream Parlor
Materials
White paper (about 8x10)
Crayons
Tempera paint
(we used neon paint colors)
Tan construction paper
Shaving cream
Elmer’s
glue
Sparkles
Food coloring
Cotton balls.
Tape down the page on a board
Draw a design on the page that you might think to see in an
ice cream parlor, in crayon (you will want to press relatively hard so that you
can feel the wax of the crayon on the paper, this will repel the paint)
Paint over with tempura paint, either one solid color or in
a design. Let dry.
Make a tan waffle cone, adding details in crayon. Glue this
onto the paper, leaving room above it for the ice cream.
Make the 1:1 shaving cream and Elmer’s glue concoction
again, this time asking what flavor ice cream students want, and adding food
coloring or paint to make it the color of that flavor
Make the ice cream scoop (a cotton ball works well for
spreading the shaving cream onto the paper) and add a cherry, chocolate chips,
or sprinkles (sparkles) and let dry overnight.
Musical Painting
Materials:
Kandinsky’s work on a projector
Music (from
Youtube)
White paper (about 11x17)
Black paint and an assortment of other color
paints (tempera or acrylic)
Show students Kandinsky’s work, and ask if they see any
recognizable objects, ask how they think he was feeling when he painted it, and
talk about how he painted to music.
Play 4 different styles of music (I used country, classical, dubstep, and pop), each for about 3-4
minutes. During this time students will paint lines and abstract shapes with
black paint in a style that the music makes them feel.
Give them time to finish and perfect lines. Let dry.
Talk about opposite colors, and how they make each other
POP, and how we can create neutral colors by mixing opposite colors, we can
make tints by adding white, and shades by adding black but when we add both
white and black it makes the color look grey to some degree.
Fill in the painting with these things in mind, using colors
available and leaving no white spaces.
Hot and Cool
Materials:
Watercolor paper
Watercolors
Salt
Glue
Pastels
Glitter
Watercolor one page with hot colors (yellow, orange, red,
purple) and another page with cool colors (yellow, green, blue, purple). Let
dry.
Choose one page to rip up, and the other to keep intact. The
page that will be ripped up should be in large, medium and small pieces, and
then arranged on the other page to be glued down. Before gluing, have peers
look at it, and offer suggestions. Once glued down, students can choose to add
pastel or glitter in any way they choose.
Doodle Water Color
Materials:
White paper (about 8x10)
Crayons
Watercolors
Draw a border and a connected doodle line on a paper, being
sure to intersect lines and create a piece that fills the entire page and
leaves areas of similar sizes open. Color in closed areas with crayon either solid
or in patters, each area being different from the surrounding areas. Crayon
should be pressed hard so that the wax can be felt, to repel the watercolor
paint. Remember, white crayons will work too!
Tape down board, and water color different sections
different colors.
Bubble Art
Materials:
Bubble mix or Dawn dish soap
Bowls (about 8)
Straws
Food
coloring
Card stock or mat board
Crayons and pastels (optional)
Mix either bubble mix or a 1:4 ratio of water and dawn dish
soap in a bowl (I would use 2-3 cups of liquid depending on the amount of kids)
and mix in food coloring. Depending on how dark of a color you want, use
between 20 and 30 drops of color per bowl, adjusting as needed. The colors I
had available in separate bowls for students were pink, red, orange, yellow, green, teal, blue
and purple. We used both regular and neon colored food coloring.
Students use a straw to blow into the dish (make sure they
pick one side of the straw to blow into every time, and remind younger students
to never suck in… bubble mix tastes horrible). This will create bubbles on the
surface that will raise above the edge of the bowl. They can then either scoop
it up with their paper, or press their paper down on top of the bowl. I did
this outside, and let them chase the bubbles that blew away, and allowed them
to make quite the mess.
Another addition to this project would be doodling on the
card stock with crayon before adding the bubbles, or doodling on it afterward
with crayon, oil pastel or a black pen. The possibilities are endless with this
one!
Materials:
Magazines
Mat board or paper
Oil pastels
Have students choose a landscape from a magazine that they
like, and have them recreate it on the mat board in oil pastel. They may add or
remove parts of the landscape, and they must blend colors. They can first draw
with pencil if they would like, or oil pastel.
Pretty simple!
Henri Matisse Window Painting
Materials:
White paper (about 13x19)
Acrylic paint
Have students draw a 1/4” border
Talk about using patterns like Matisse does, and opposite
colors to make things stand out and to make a bright and cheerful painting.
Have students draw a window on their painting which will view something, and
also add things inside the window such as furniture in pencil. We don’t need to
draw the patterns we will use in pencil, instead we will only paint that.
We are ready to paint, so tape down the paper to a board.
The window is the background, the wall is a middle ground,
and the furniture inside the house being in the fore ground. Remind students
that it is best to start with the background and move forward when painting,
and that small objects can be added on top of the background paint so that we
don’t have to paint such small details.
Edward Hicks "Peaceable Kingdom"
Square white paper (about 10x10)
Colored Pencils
Animal drawing books (optional)
Show students Edward Hicks’ “Peaceable Kingdom”. They may
notice that many of the animals wouldn’t generally congregate together, and
definitely not so close. That’s what’s special about this!
Students will make a ¼” border and then a frame inside that
border with a pattern.
They will choose 2 or more animals to draw that usually don’t
live together, and in very close proximity. They will also draw them in a
habitat. They can use a drawing book for this, or just google images.
They will then color this in colored pencil, but always
blending colors and layering colors on top of one another to make more unique
colors. Give them a lesson on this prior to having them do this on their own,
and remind younger students to color lightly, and in an organized fashion so
that from far away you cannot see the pencil strokes. Every color should be
layered with another color.
Abstract Watercolor
Materials:
Mat Board
Watercolor paint
Salt
Clear Elmer's glue
Choose 3 analogous colors (next to one another on the color wheel) to work with. Quickly put a thick layer of those colors over the mat board however you'd like, trying not to make muddy looking colors. Once finished, quickly put a design on the board with the clear Elmer's glue, and then add salt to areas that you would like that affect. The salt works best in areas that are puddled, because it soaks up the water and makes the water color look glittery. Let dry overnight.
That's all for now folks :) I hope you find this stuff helpful, I'm sure I will here pretty soon!